Design To Manufacturing
Home / Our Services / Design To Manufacturing
Taking you from idea to production
Designing a product is a meticulous process that combines creativity, strategy, and functionality. At the core of our commitment to crafting custom products from plastic lies a simple belief: plastic offers unparalleled potential compared to other materials.
It truly is a gateway to innovation. When paired with the process of rotational moulding, plastic delivers products that are not just strong, durable, and sleek, but also incredibly lightweight.
Whether you’re creating prototypes or launching a new product, having a well-thought-out design process is crucial. Below, we break down this process into clear and actionable steps.
The initial project phases
These stages should happen before you engage Global Rotomoulding. These steps will provide you with greater clarity around your product and what it needs to deliver.
The fuzzy front-end of an idea
Every great product starts with an idea. However, before execution, an idea requires refinement and evaluation. This stage is often called the “fuzzy front end” because the pathway forward can feel unclear. Here’s where you start:
- Lean on a mentor or industry expert for guidance. Their experience can help steer your ideas in a productive direction.
- Brainstorm and sketch freely. Allow your imagination to explore every possibility. Don’t rush the process; give yourself time to dream big while letting practicality shape your vision.


Idea screening
Idea evaluation
Being able to critically and objectively evaluate your concept is essential. Emotional detachment at this stage ensures your idea is rooted in practicality and merit. Here’s a step-by-step approach to evaluate effectively:
- Seek honest feedback: Openly discuss your idea with trusted mentors or trusted peers (you may want a confidentiality agreement). Their honest insights can reveal any blind spots you might miss.
- Develop and test: Build your concept into something tangible, even if just a prototype, to test feasibility and user reactions.
- Define requirements: Clearly outline the specifications and functionalities your product must deliver.
- Research the competition: Understand what similar products are doing well and where they fall short. Analysing both the positive and negative aspects can help you carve out your unique offering.
- Conduct preliminary market testing: Share your concept with a small group of people in your target market to gather invaluable feedback on how your product fits their needs.
With a well-defined process and deliberate execution, the path from an idea to a finished product becomes clearer. Remember, the secret to product design lies not just in innovation, but in understanding the needs of those who will use it.
Where Global Rotomoulding can help
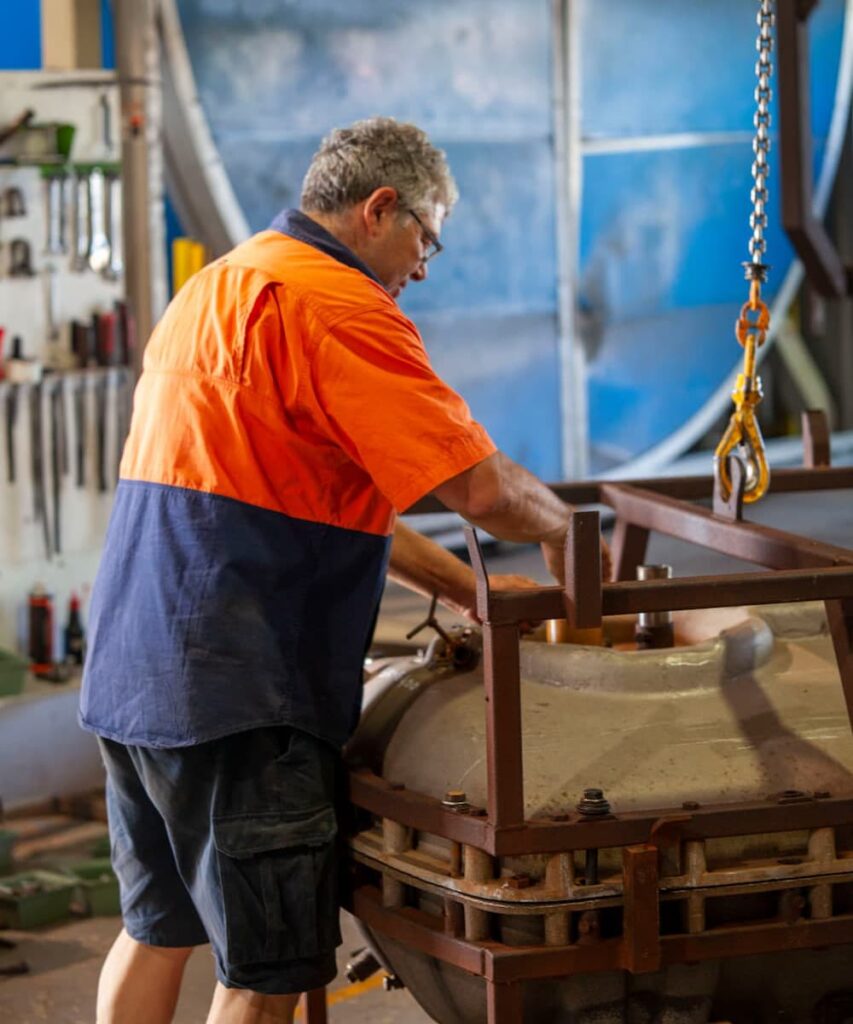
Step 1 – Design
The design process plays a vital role in determining how your product will look, function, and perform. For roto-moulded products, where mould costs can be significant, a rigorous and well-thought-out design process is essential.
While this process requires an up-front investment, it ensures the final product meets your expectations and performs optimally. If you’re considering moving forward, we recommend preliminary discussions with our team to align on your projected sales and design goals.
Initial concept and sketches
The first step is developing your product’s initial concept and sketches. You may already have some ideas or research documented to reflect your requirements. From there, our design team collaborates with you to refine these concepts and ensure the sketches translate into manufacturable products that meet your specifications.
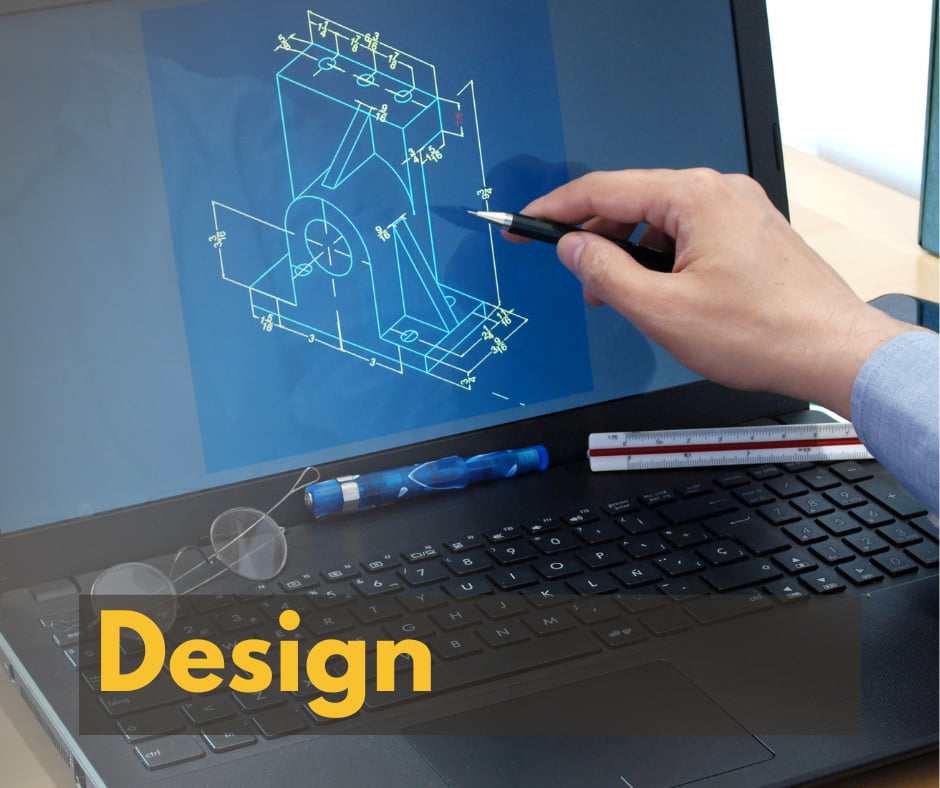
CAD modelling
Our team then creates detailed 3D CAD models to bring your vision to life. This provides a clear, visual representation of your product before production begins.
Here are the critical factors our team evaluates during the design phase to ensure optimal outcomes:
- Structural integrity: Designing with consistent wall thickness and proper material flow to avoid defects.
- Ease of demoulding: Eliminating undercuts to simplify the moulding process.
- Component requirements: Identifying any additional components your product may need.
Depending on your requirements we will discuss what polymer choice we recommend to suit your product’s specific requirements. This includes:
- Material selection: Choose durable, flexible, and resistant materials such as polyethylene (PE) or polypropylene (PP).
- Additives: Customise your product with colour additives, UV resistance, or flame retardancy depending on its application.
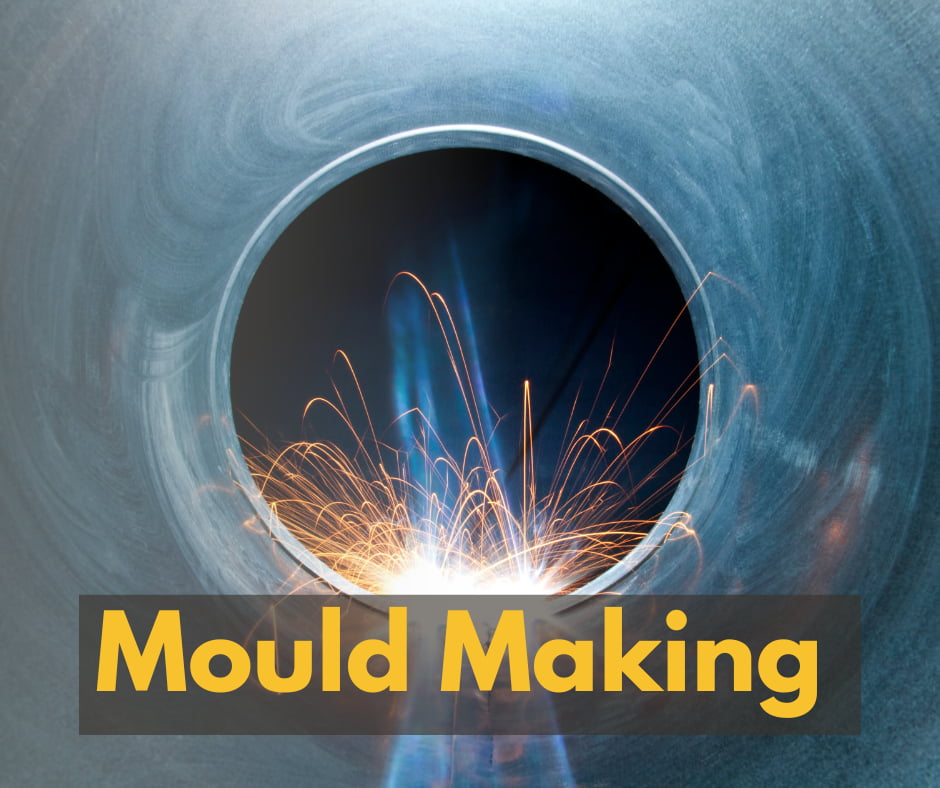
Mould design
Creating a high-quality mould is crucial for production success. Our team follows these steps to design and build the perfect mould for your product:
- Mould design – Using advanced CAD software, we design the mould to accommodate your product’s unique shape and features.
- Material selection – We select mould materials such as aluminium or steel based on cost, durability, and thermal conductivity. Our goal is to balance quality with affordability.
- Mould construction – The mould is fabricated using techniques like machining or casting to ensure exceptional build quality and efficiency during production.
Business case analysis
Once the initial design phase is complete, the next step is to develop a robust business case. We provide a detailed breakdown of mould production costs and item production costs, enabling you to calculate projected sales and assess the profitability of your product.
For more information on this step you can check out our Comprehensive Business Case Guide here.
Interested in discussing your project in more detail?
Reach out to our team—we’re excited to help bring your vision to life.
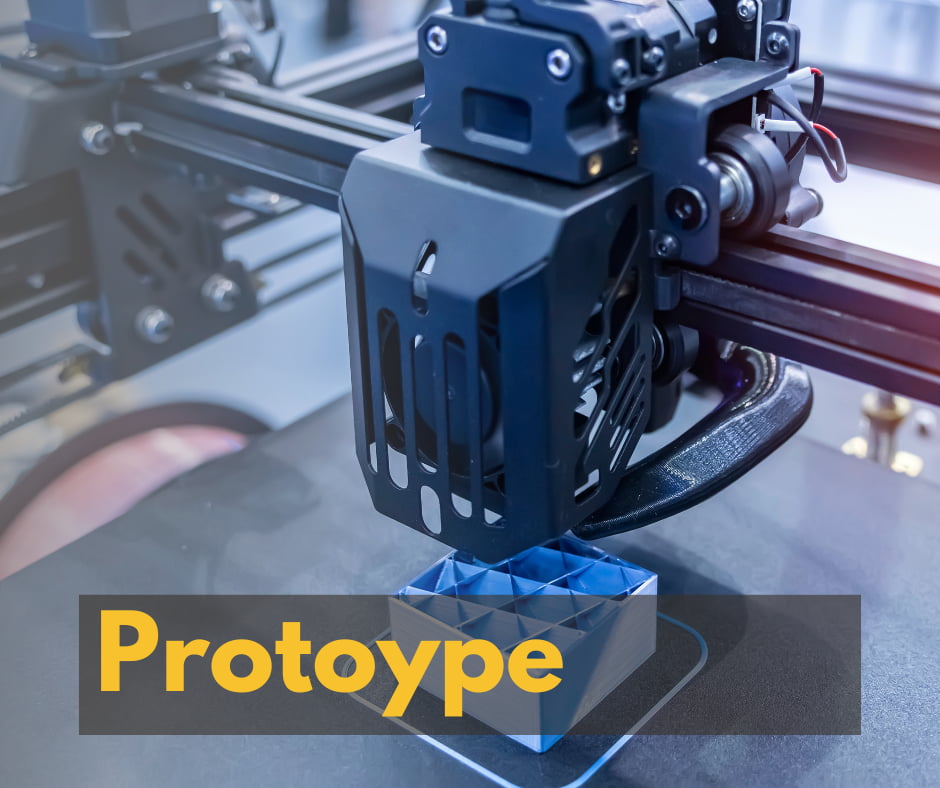
Step 2 – Prototype
When it comes to product development for roto moulding, prototyping plays a pivotal role in ensuring the final product meets all functional and customer requirements.
Two primary methods of prototyping stand out Finite Element Analysis (FEA) and creating physical models like scaled 3D prints, full-sized 3D prototypes, or CNC-machined bucks for real-world testing. Both methods work in harmony to refine designs and optimise performance from conception to production.
Finite Element Analysis (FEA): Building reliable and optimised products
FEA is a foundational tool in the design and prototyping process. This computational technique predicts how a product will behave under various real-world conditions such as stress, heat, vibration, and loads. Here’s why it’s indispensable in product development:
Why FEA testing matters
- Predictive analysis and design validation - FEA allows engineers to simulate and analyse how a product will perform before creating physical prototypes. By identifying stress points and potential failure zones early, FEA enables engineers to refine designs and ensure durability and safety from the outset.
- Cost and time efficiency - Virtual testing through FEA minimises the need for multiple iterations of physical prototypes, saving both development time and resources. With faster refinements, companies can accelerate their time-to-market while controlling costs.
- Material optimisation - FEA helps determine the optimal material for a product by analysing its performance under expected stress and load conditions. This not only ensures the appropriate balance of strength and weight but also reduces excess material usage, saving costs and improving sustainability.
- Regulatory compliance - Many industries, including automotive, aerospace, and medical, require strict adherence to standards. FEA helps validate compliance by simulating real-world conditions as defined by these regulations, ensuring that safety and performance thresholds are met.
- Enhanced performance and reliability - FEA provides intricate details on performance metrics such as thermal distribution, structural integrity, and vibration behaviour. This depth of insight promotes reliability and customer satisfaction by ensuring the product performs under all intended conditions.
- Encouraging innovation - FEA empowers designers to experiment with innovative materials, unconventional shapes, and creative structural solutions without risk. By testing "what-if" scenarios virtually, teams can evaluate advanced concepts without committing to expensive prototypes.
Steps in FEA testing
Pre-processing:
- Geometry and meshing - Create a detailed 3D model of the product and divide it into smaller elements (mesh)
- Material properties - Assign material properties to the different components of the model.
- Boundary conditions and loads - Define how the model is constrained and apply the expected loads.
Solving:
- Use FEA software to solve the equations governing the physical behaviour of the model under the specified conditions. This step involves significant computational power, especially for complex models.
Post-processing:
- Analyse the results to identify stress distributions, deformation patterns, temperature gradients, and other critical performance metrics.
- Visualise these results using graphical tools to better understand potential issues.
Validation and iteration:
- Compare FEA results with experimental data or real-world performance (if available) to validate the model.
- Refine the design based on the insights gained and repeat the FEA process to evaluate improvements.
- By incorporating comprehensive FEA testing into the design phase, companies can ensure that their products not only meet but exceed application and customer requirements. This process leads to the development of robust, reliable, and high-performance products that stand up to the demands of real-world use.
Prototyping
Prototyping a product, particularly for machinery, is crucial to ensure it meets all specified requirements and needs. This process often involves creating scaled 3D printed models to evaluate the fit within existing systems. These prototypes allow designers to check for proper alignment, clearance, and integration with other machine components.
By using 3D printing, teams can quickly produce physical models to test these parameters, adjusting as needed before committing to more expensive and time-consuming manufacturing processes. This iterative approach helps in identifying and resolving fit issues early, ensuring that the final product will seamlessly integrate with the machinery it is designed to complement.
In addition to fit testing, full-size 3D prints or CNC-machined prototypes are employed for comprehensive evaluations. These larger models are essential for assessing the actual performance in real-world conditions, particularly when precision and compatibility with other machine parts are critical. Full-size prototypes allow for detailed fit testing, ensuring that all parts align correctly and operate without interference.
Step 3 – Branding
Showcase the product’s standout features, such as its exceptional strength, long lifespan, and resistance to harsh environmental conditions—key benefits that set roto-moulding apart from other manufacturing techniques. Leverage market research to craft messaging that speaks directly to these industries, focusing on how the product can address specific challenges or improve operational efficiencies. A well-defined value proposition, supported by data and testimonials from pilot tests or early users, will be crucial in building trust and sparking interest in the product.
The next phase involves deploying a well-rounded promotional strategy to maximise exposure and engagement. Use digital marketing approaches like targeted social media ads, SEO-driven content, and email campaigns to boost brand awareness and nurture potential leads. Industry-specific trade shows and conferences are also valuable, allowing you to connect face-to-face with buyers and decision-makers while showcasing live demonstrations of your product’s capabilities. Collaborations with influencers or trusted industry experts can further elevate visibility and establish credibility.
Ensure all marketing materials are consistent and clearly communicate the brand’s core messaging and key product benefits. Finally, track campaign performance using analytics tools to refine your approach, ensuring an impactful and successful product launch.
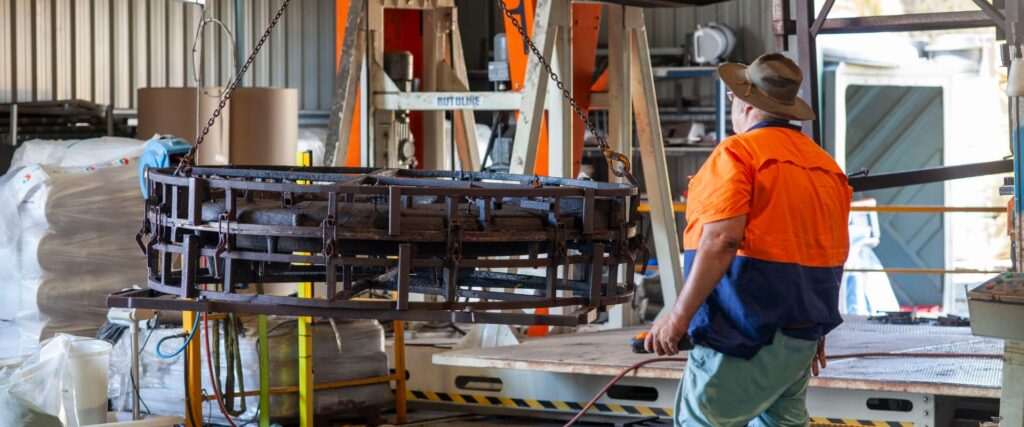
Step 4 – Mould Construction
Once the mould has been approved by our clients, it will progress to the manufacturing stage. To initiate the mould-making process, a deposit is required, with the balance due upon completion. Depending on complexity, the production timeline for a mould can range from a few weeks to several months.
Step 5 – Product Trial
Customer Sign-Off
- The customer carefully reviews the trial product.
- Once they provide approval and formal sign-off, the product is officially ready for production.
Quality Assurance (QA) Coordination
- Following customer sign-off, discussions are held to address any unique QA requirements.
- Based on these conversations, a detailed QA checklist is developed.
- This checklist outlines standard checks as well as any specialised QA processes agreed upon with the client.
Documentation and Record-Keeping
- Comprehensive production notes are meticulously recorded to capture every detail for future reference.
- A formal receipt or record is generated to document the product’s production process and retained for accountability.
- QA checklists are distributed to staff, who must complete them during production to verify that all quality checks are performed and correctly documented.
Step 6 – Production
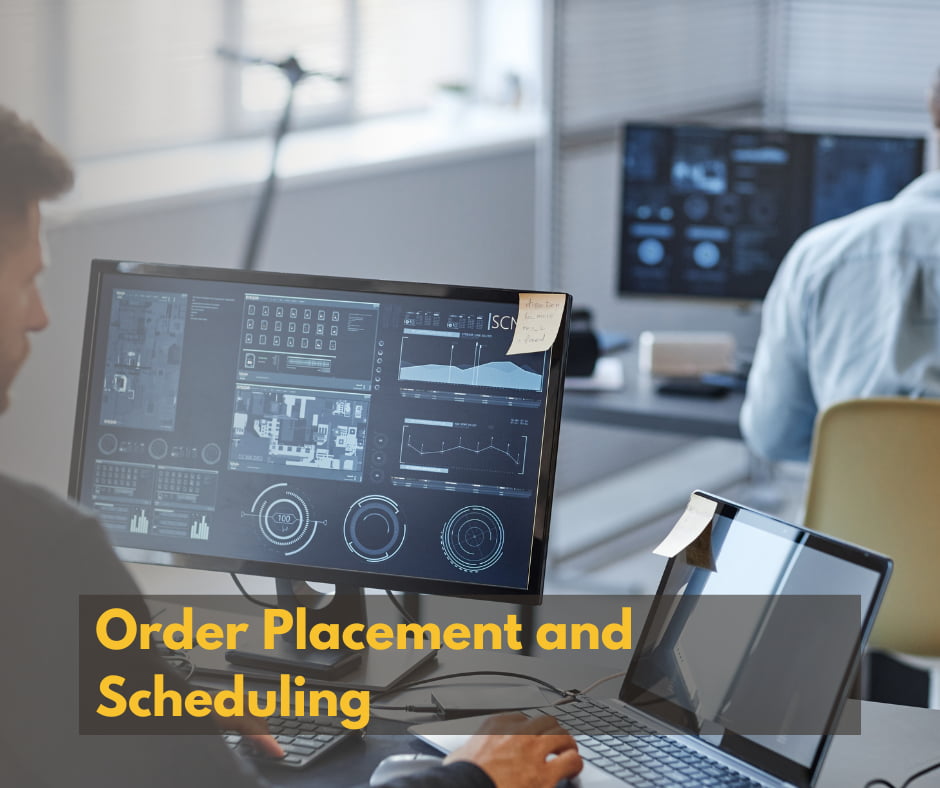
Order Placement and Scheduling
- Just-in-Time (JIT) production – We adopt a JIT strategy to boost efficiency and reduce waste. Orders are carefully scheduled to align with your exact requirements and timelines.
- Meticulous order management – We manage forward orders with precision, ensuring your future demands are met without disruptions.
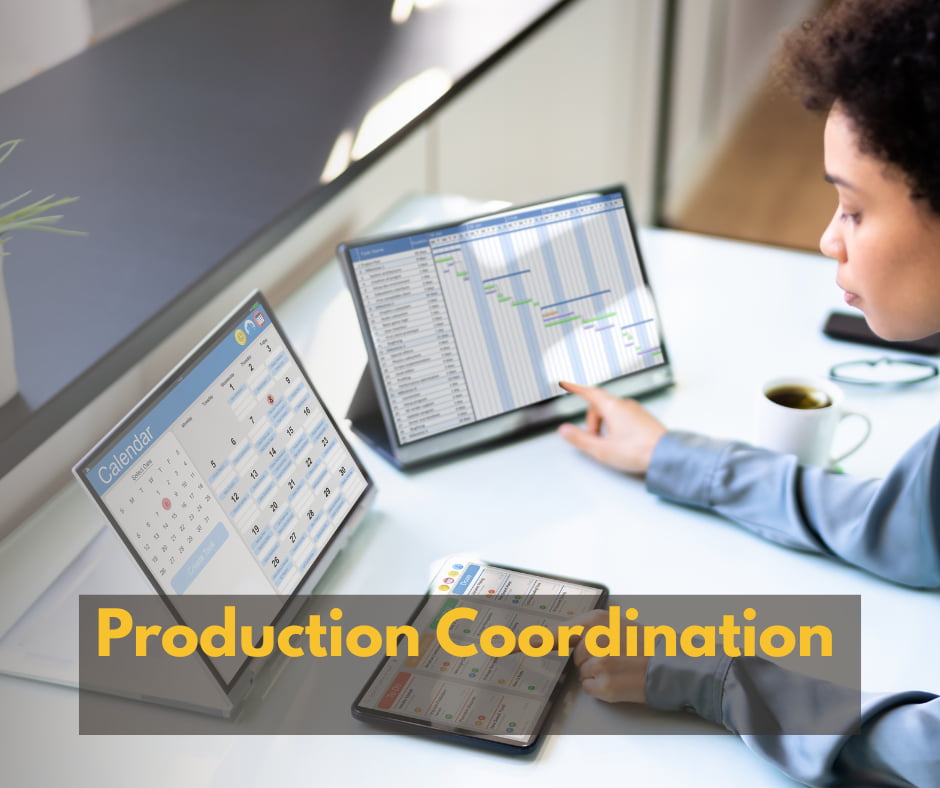
Production Coordination
- Collaboration across teams – Our logistics and production teams work together to discuss and confirm how we can meet your specific production needs.
- Accurate scheduling – Manufacturing is meticulously scheduled based on agreed timelines and your specifications.
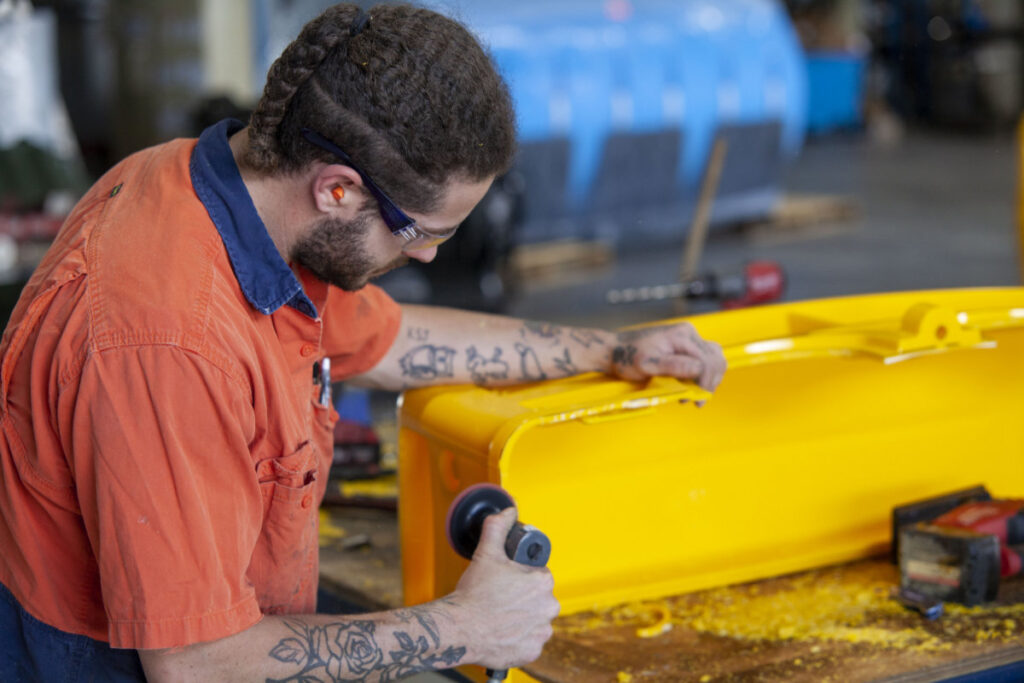
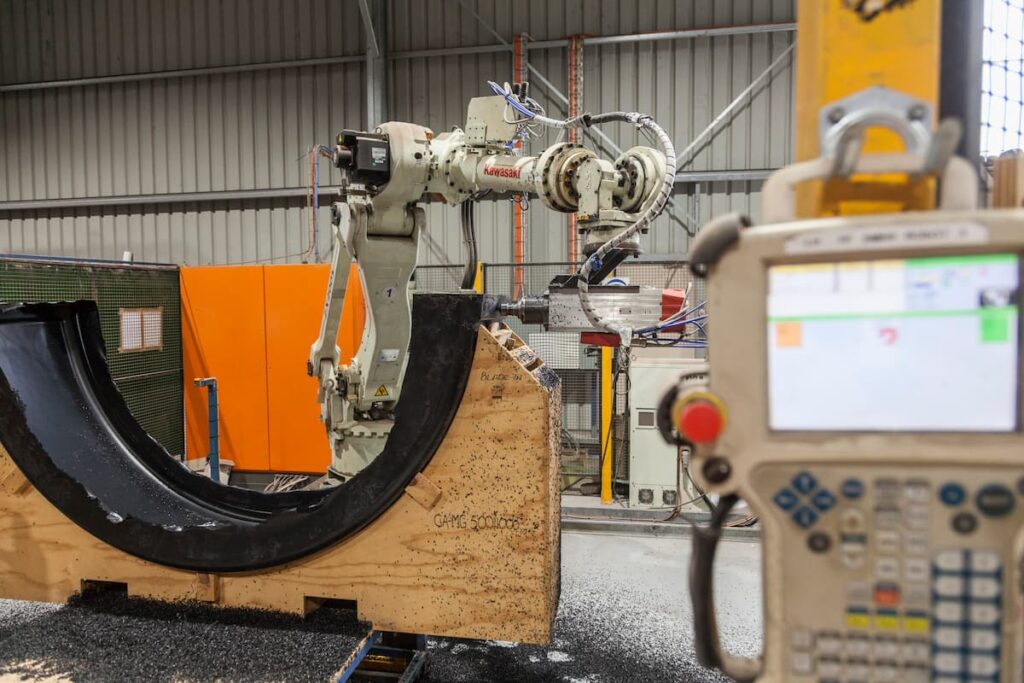
Manufacturing
- Seamless production execution – Using advanced roto-moulding techniques, we deliver products that stand out for their high quality.
- Thorough quality assurance – Each product undergoes rigorous quality checks to ensure it meets our exacting standards and your specific requirements.
- Customisation options – Our customised solutions ensure every product is tailored to your unique needs and specifications.
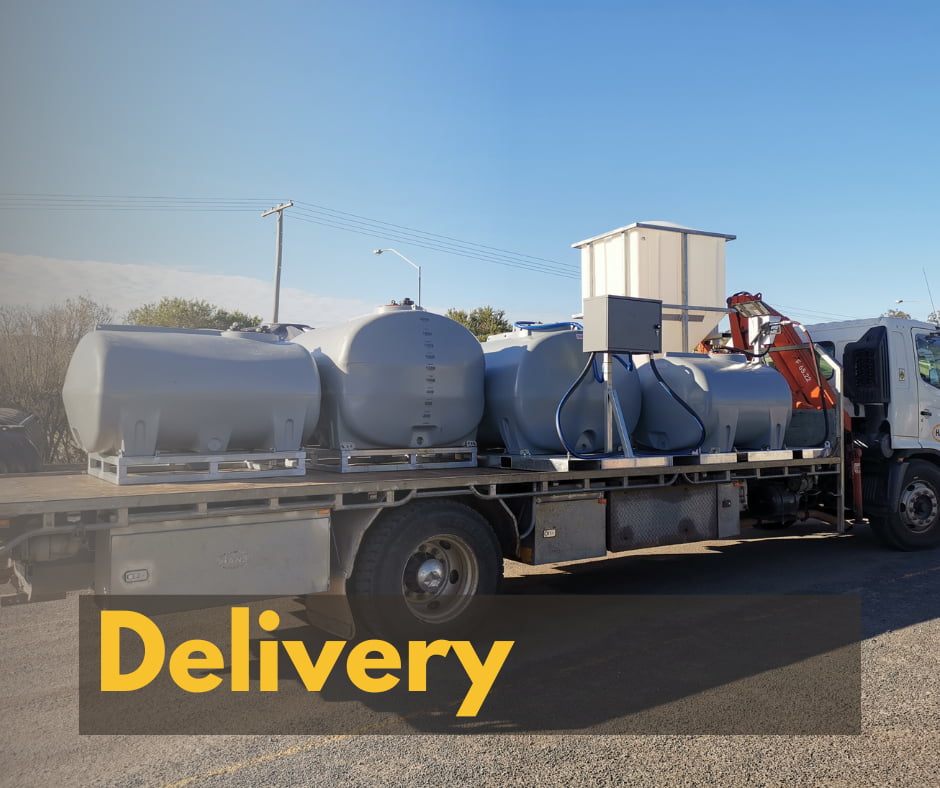
Delivery
- Careful Packaging and Reliable Shipping:
- Secure packaging – Once quality checks are complete your products are carefully packaged to guarantee safe transit.
- Flexible shipping – Leveraging either our dedicated fleet or external transport services, we adapt to the delivery option best suited to your needs.
Step 7 – Product Launch
You are ready to launch!
The product launch stage is where all the hard work and meticulous planning are realised. This phase involves introducing the final product to the market, ensuring it aligns with user needs and stands out in a competitive landscape. A successful launch requires a strategic approach, combining thorough market research, eye-catching branding, and a clear communication plan.
By carefully preparing for this stage you can ensure you deliver a product that not only meets market expectations but also builds lasting customer trust and loyalty.
Ready to bring your idea to life?